Installing a heating, ventilation, and air conditioning (HVAC) system is a complex process that requires careful planning, technical expertise, and adherence to safety standards. Whether you’re a homeowner looking to understand the process or a technician seeking best practices, this guide covers the key steps involved in a professional HVAC installation.
1. Pre-Installation Assessment
Before any installation begins, a thorough evaluation must be conducted:
-
Load Calculation – A Manual J calculation determines the heating and cooling needs of the space based on square footage, insulation quality, number of windows, and regional climate. Accurate load calculations prevent oversized or undersized system issues, leading to optimal efficiency and comfort.
-
Ductwork Inspection – Existing ducts must be inspected for leaks, blockages, corrosion, or poor design. Correcting ductwork problems before installation ensures maximum system performance and energy savings.
-
Equipment Selection – Choose HVAC equipment (furnace, air conditioner, heat pump) based on load calculations. Proper sizing ensures the system operates efficiently, avoiding short cycling or overworking.
-
Permits & Regulations – Obtain all necessary local permits. Ensure compliance with building codes, fire safety standards, and EPA guidelines (especially regarding refrigerant handling and disposal).
2. Removing Old Equipment (If Applicable)
If replacing an existing HVAC system:
-
Safely disconnect power, gas, and refrigerant lines from the old unit.
-
Properly recover and dispose of refrigerants in accordance with EPA Section 608 regulations.
-
Remove the old unit and clean the installation site, clearing away dust, debris, and rust to prepare a clean base for the new system.
3. Installing the New HVAC System
A. Furnace or Air Handler Installation
-
Position the unit on a stable, level platform or suspend it securely (especially in attic or crawl space installations).
-
Maintain minimum clearances around the unit for safe operation and future servicing (typically 30 inches in front, 6 inches on each side).
-
Connect the condensate drain line with an appropriately sized trap to avoid leaks and bacterial growth.
-
Securely install gas lines (if applicable) and ensure proper shutoff valves are accessible.
-
Complete electrical connections following local code and manufacturer instructions.
B. Outdoor Unit (Condenser or Heat Pump) Installation
-
Set the outdoor unit on a level, vibration-absorbing pad or reinforced concrete base.
-
Maintain at least 2 feet of clearance on all sides and 5 feet above for unobstructed airflow and easy maintenance access.
-
Connect refrigerant lines with proper brazing techniques, using nitrogen purging during welding to prevent internal contamination.
-
Insulate refrigerant lines thoroughly to minimize energy loss and condensation issues.
C. Ductwork Installation or Modification
-
Seal all duct joints and seams with mastic sealant or approved metal-backed tape (never use standard duct tape).
-
Verify duct sizing with Manual D calculations to optimize airflow and maintain system efficiency.
-
Install balancing dampers as necessary to fine-tune airflow distribution throughout the building.
D. Thermostat & Electrical Connections
-
Install a programmable or smart thermostat in a central location away from direct sunlight and heat sources.
-
Run low-voltage control wiring between the thermostat, furnace/air handler, and outdoor condenser.
-
Confirm voltage, amperage, and breaker size are correct to ensure system safety and performance.
4. System Startup & Testing
After physical installation is complete, the system must be carefully tested and adjusted:
-
Refrigerant Charge Check – Measure refrigerant levels using a manifold gauge set. Verify correct superheat or subcooling according to manufacturer specifications.
-
Airflow Measurement – Use an anemometer or flow hood to ensure airflow meets design criteria (typically measured in cubic feet per minute, or CFM).
-
Combustion Analysis (For Furnaces) – Test for correct gas pressure, proper combustion, and safe carbon monoxide levels using combustion analyzers.
-
Thermostat Calibration – Test the thermostat settings to verify accurate heating, cooling, and fan operations, ensuring smooth cycling.
5. Final Inspection & Customer Walkthrough
-
Schedule and pass a final inspection by the local building authority if required.
-
Walk the customer through system operations, including thermostat programming, filter changes, basic maintenance, and warranty coverage.
-
Provide documentation, including installation receipts, warranty registration, and manuals for future reference.
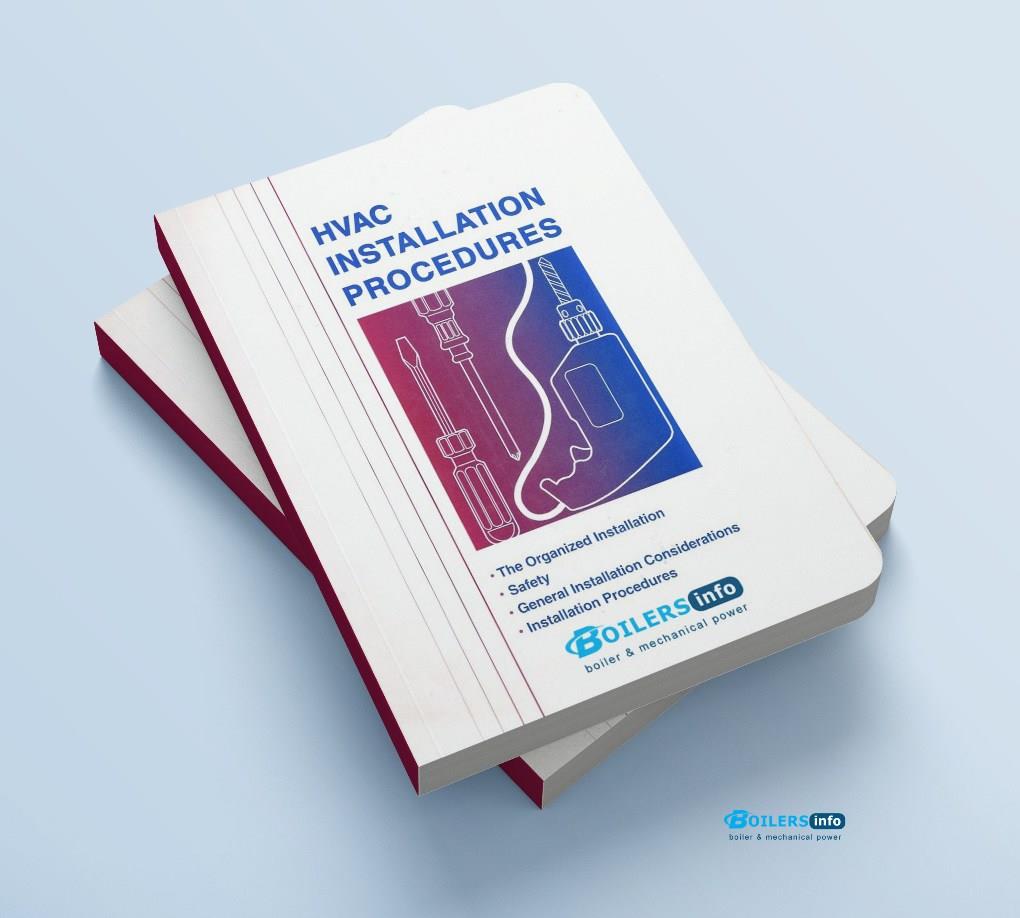
Conclusion and Book⬇️
A properly installed HVAC system ensures energy efficiency, system longevity, safety, and year-round comfort. Cutting corners during installation can lead to high energy bills, frequent breakdowns, and poor indoor air quality. Whether upgrading an older system or installing a brand-new one, hiring a certified professional and following best practices outlined in this guide are essential steps for success.
 Boilersinfo Boiler and Mechanical Power Digital Library


